Uploading Returns to PortalSafe
You can upload returns to PortalSafe so your customers can review their returns.
The best option is the Upload to PortalSafe option on the Print Return Dialog Box.
Uploading Returns
Before trying to create a guest user, make sure that you've subscribed to PortalSafe and that you've entered PortalSafe login credentials in your ATX Return Manager. See Subscribing to PortalSafe and Store PortalSafe Login Credentials.
To upload returns to PortalSafe:
- Open the return.
- Do one of the following:
- Click the Print toolbar button.
- From the Returns menu, select Print Return.
- Press Ctrl+P.
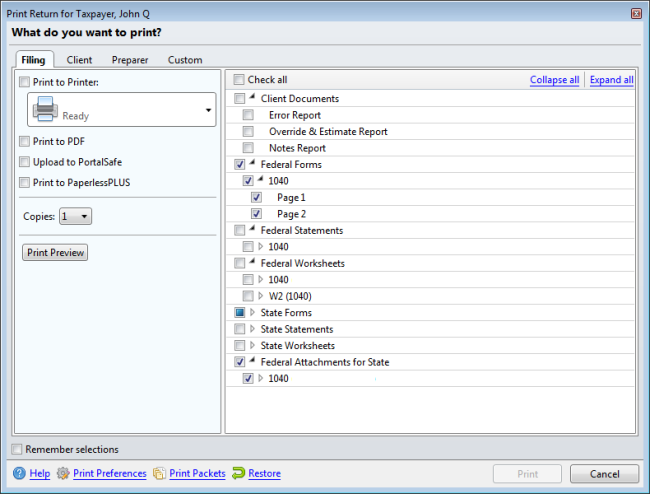
Print Return dialog box (Upload to PortalSafe check box option)
- Select the copies you wish to print in the tree.
- Check the Upload to PortalSafe check box (either instead of or in addition to any other Print selections).
- Click Print.
If you haven't already entered an e-mail address for the user in Return Manager, the system will ask you for the user's e-mail address. An e-mail address is required so that PortalSafe can send your customer an alert email telling them that you've uploaded a document to their PortalSafe drawer. The e-mail address also provides users with the PortalSafe™ link and their own login credentials. Guest Users only have access to their drawer.
You can set up your Print Packets to always upload specific copies to PortalSafe™.
See Also: